> For the complete documentation index, see [llms.txt](https://docs.acestudio.ai/llms.txt). Markdown versions of documentation pages are available by appending `.md` to page URLs; this page is available as [Markdown](https://docs.acestudio.ai/docs/product-wiki-ko/getting-started/tour-the-interface.md).
# 인터페이스 둘러보기
ACE Studio 인터페이스를 살펴보세요.
## 타이틀 바 및 트랜스포트
타이틀 바와 트랜스포트는 ACE Studio 상단에 있으며, 프로젝트 이름, 템포, 박자표, 재생 제어 같은 핵심 기능을 표시합니다.
{% content-ref url="/pages/ff73c4981877b512bcaa9e9a0bd28e334bfe72fc" %}
[트랜스포트](/docs/product-wiki-ko/project/transport.md)
{% endcontent-ref %}
## 캔버스
캔버스는 음악 제작의 핵심 영역으로, 프로젝트의 모든 트랙과 클립을 타임라인 형식으로 표시합니다. 여기에서 다양한 클립을 만들고, 이동하고, 잘라내고, 배치하여 완전한 곡 구조를 구성할 수 있습니다.
{% content-ref url="/pages/c51de9fa90969b17ad1ecdd00e8452663d6f4013" %}
[캔버스에서 편곡하기](/docs/product-wiki-ko/project/arrangement-in-canvas.md)
{% endcontent-ref %}
## 클립 에디터
클립 에디터는 세부 조정을 위한 공간입니다. 클립을 더블클릭하면 아래에 펼쳐집니다. 피아노 롤에서 노트, 가사, 보컬 컨트롤을 편집하거나, 오디오 편집기에서 오디오 파일을 조정할 수 있습니다.
{% content-ref url="/pages/ad87138ab4f679c1f1f4608d4abc6c72de88fb44" %}
[클립 에디터](/docs/product-wiki-ko/project/arrangement-in-canvas/clips/clip-editor.md)
{% endcontent-ref %}
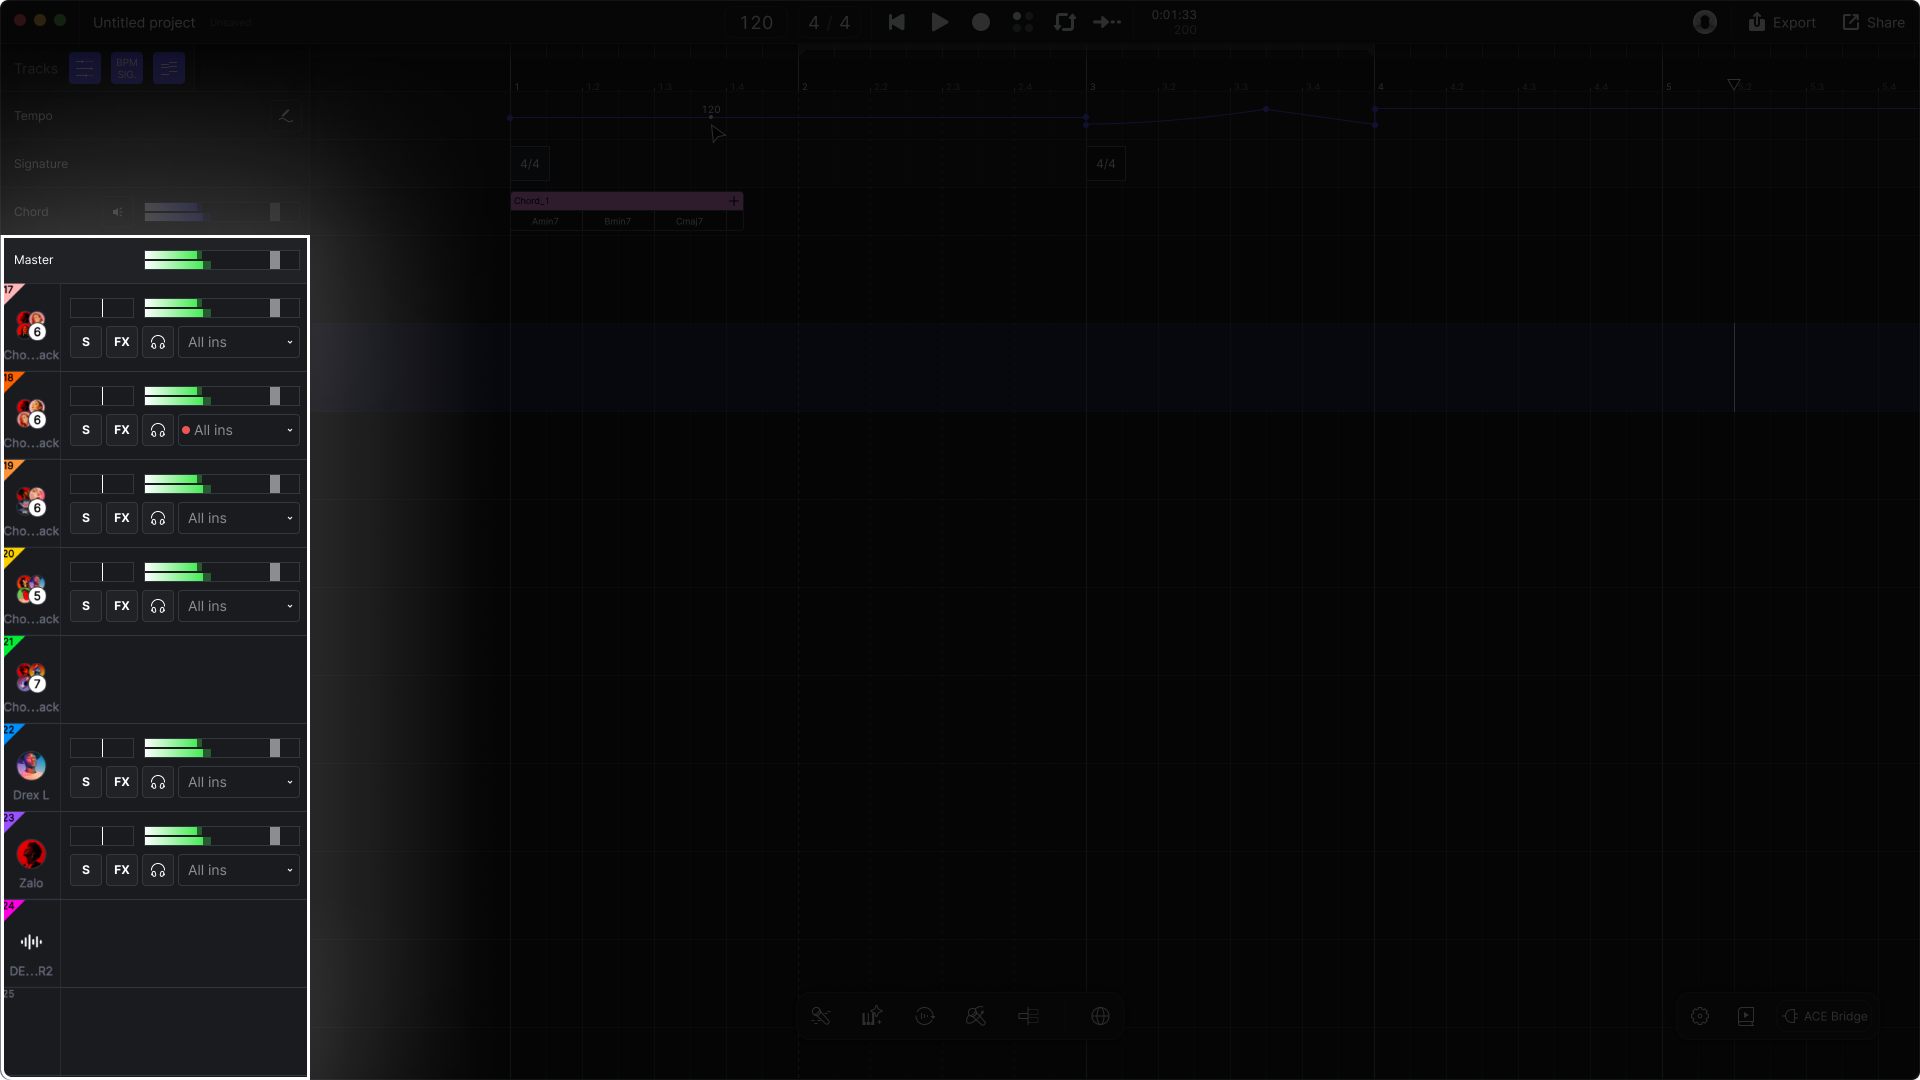
## 믹서
믹서에서는 각 트랙의 페이더와 노브를 조정하여 파트 간의 밸런스를 쉽게 맞추고 최종 믹스를 다듬을 수 있습니다.
{% content-ref url="/pages/2fc845291a58a72c1b3385839699f0f5fd0c6eee" %}
[믹서](/docs/product-wiki-ko/project/mixing/mixer.md)
{% endcontent-ref %}
## 추가 트랙
추가 트랙은 캔버스 위쪽으로 펼쳐 프로젝트의 전역 정보와 마커를 관리할 수 있습니다. 여기에는 박자표 트랙, 클릭하여 템포 트랙 열기, 코드 트랙, 그리고 비디오 트랙이 포함되어 있어 복잡한 리듬을 구성하기에 편리합니다.
{% content-ref url="/pages/30284013e9e696b88ce6cb7d1544af644cac0559" %}
[템포 및 박자표 변경](/docs/product-wiki-ko/project/arrangement-in-canvas/tempo-and-signature-change.md)
{% endcontent-ref %}
{% content-ref url="/pages/59a3f267c79cb322c5bd1755bb495aeccd5daee4" %}
[코드 트랙](/docs/product-wiki-ko/project/arrangement-in-canvas/chord-track.md)
{% endcontent-ref %}
{% content-ref url="/pages/05eff5b5d924b9e072c0c83998626c3c99c48305" %}
[비디오 트랙](/docs/product-wiki-ko/project/arrangement-in-canvas/video-track.md)
{% endcontent-ref %}
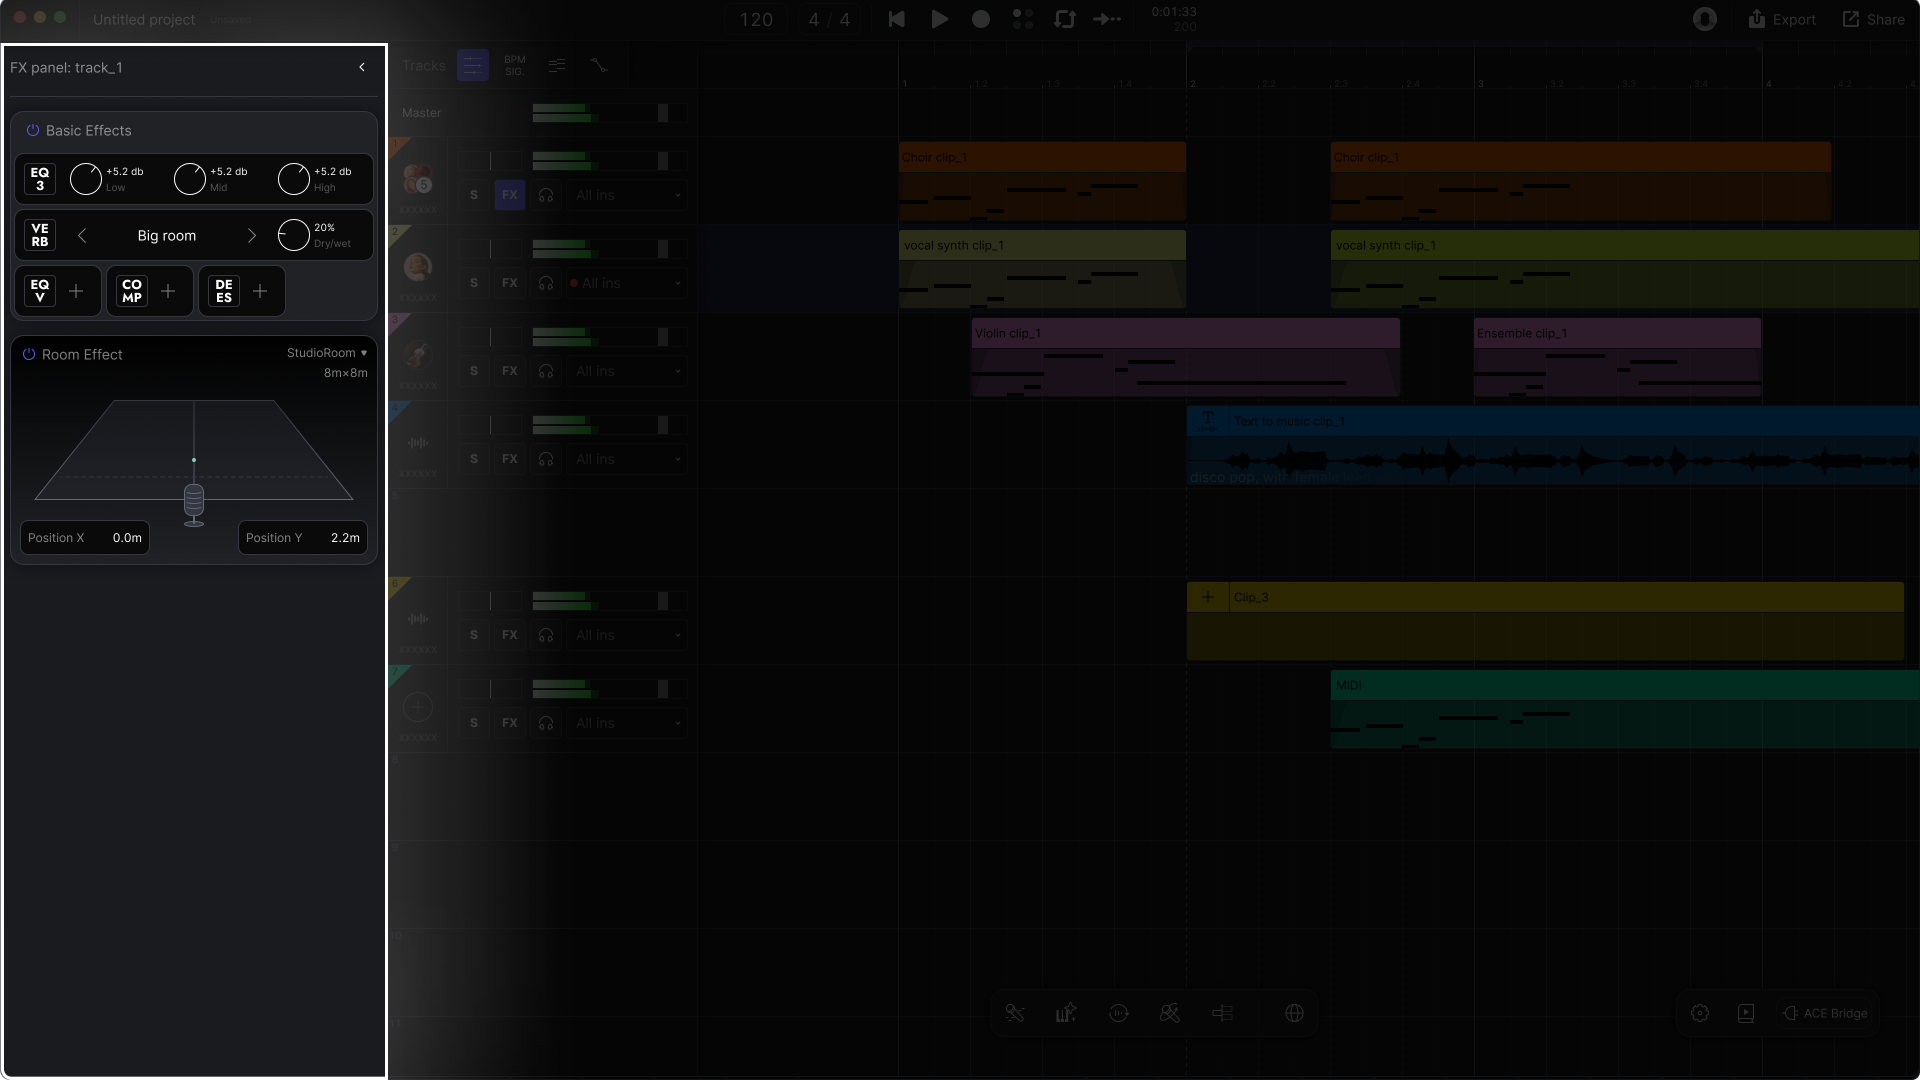
## 이펙트 패널
이펙트 패널은 사운드에 ‘양념’을 더하는 곳입니다. 여기에서 각 트랙의 이펙트 플러그인을 불러오고 조정할 수 있습니다. 리버브, 이퀄라이저, 컴프레션, Room Effect 같은 이펙트를 사용하면 트랙의 음색을 바꾸고 향상시킬 수 있습니다.
{% content-ref url="/pages/f86e88ed5e9b767a49de3fcb896947f245abd5f9" %}
[이펙트](/docs/product-wiki-ko/project/mixing/effects.md)
{% endcontent-ref %}
## 메인 메뉴
메인 메뉴는 ACE Studio 인터페이스의 왼쪽 상단에 있습니다. 여기에서 파일 관리, 편집 작업, 설정 옵션 등 모든 명령을 찾을 수 있습니다.
{% content-ref url="/pages/97d19c7ddb5d55046d3f2cfaf4bbda58dd3dab32" %}
[파일 관리](/docs/product-wiki-ko/project/file-management.md)
{% endcontent-ref %}
{% content-ref url="/pages/430f2853e2bcbb2ebf3cc311b12f3f47a38caa4a" %}
[환경설정](/docs/product-wiki-ko/account-and-settings/preferences.md)
{% endcontent-ref %}
---
# Agent Instructions
This documentation is published with GitBook. GitBook is the documentation platform designed so that both humans and AI agents can read, navigate, and reason over technical content effectively. Learn more at gitbook.com.
## Querying This Documentation
If you need additional information that is not directly available in this page, you can query the documentation dynamically by asking a question.
Perform an HTTP GET request on the current page URL with the `ask` query parameter, and the optional `goal` query parameter:
```
GET https://docs.acestudio.ai/docs/product-wiki-ko/getting-started/tour-the-interface.md?ask=&goal=
```
`ask` is the immediate question: it should be specific, self-contained, and written in natural language.
`goal` is optional and describes the broader end goal you are ultimately trying to accomplish on behalf of the user. GitBook uses it to tailor the answer towards what is most useful for that goal.
The response will contain a direct answer to the question and relevant excerpts and sources from the documentation.
Use this mechanism when the answer is not explicitly present in the current page, you need clarification or additional context, or you want to retrieve related documentation sections.